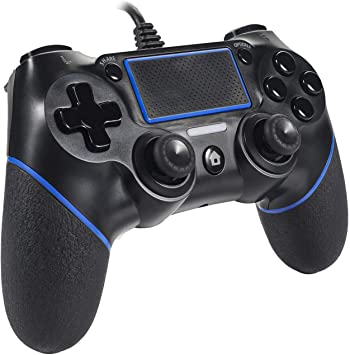
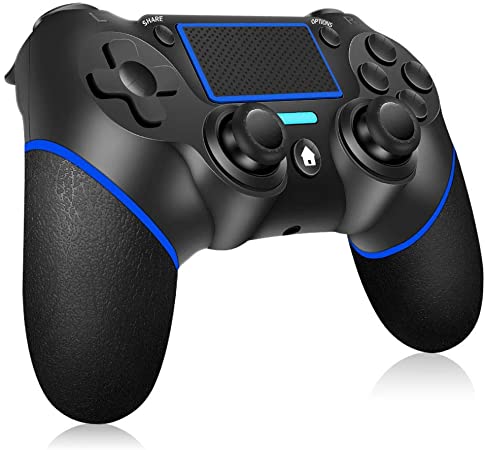
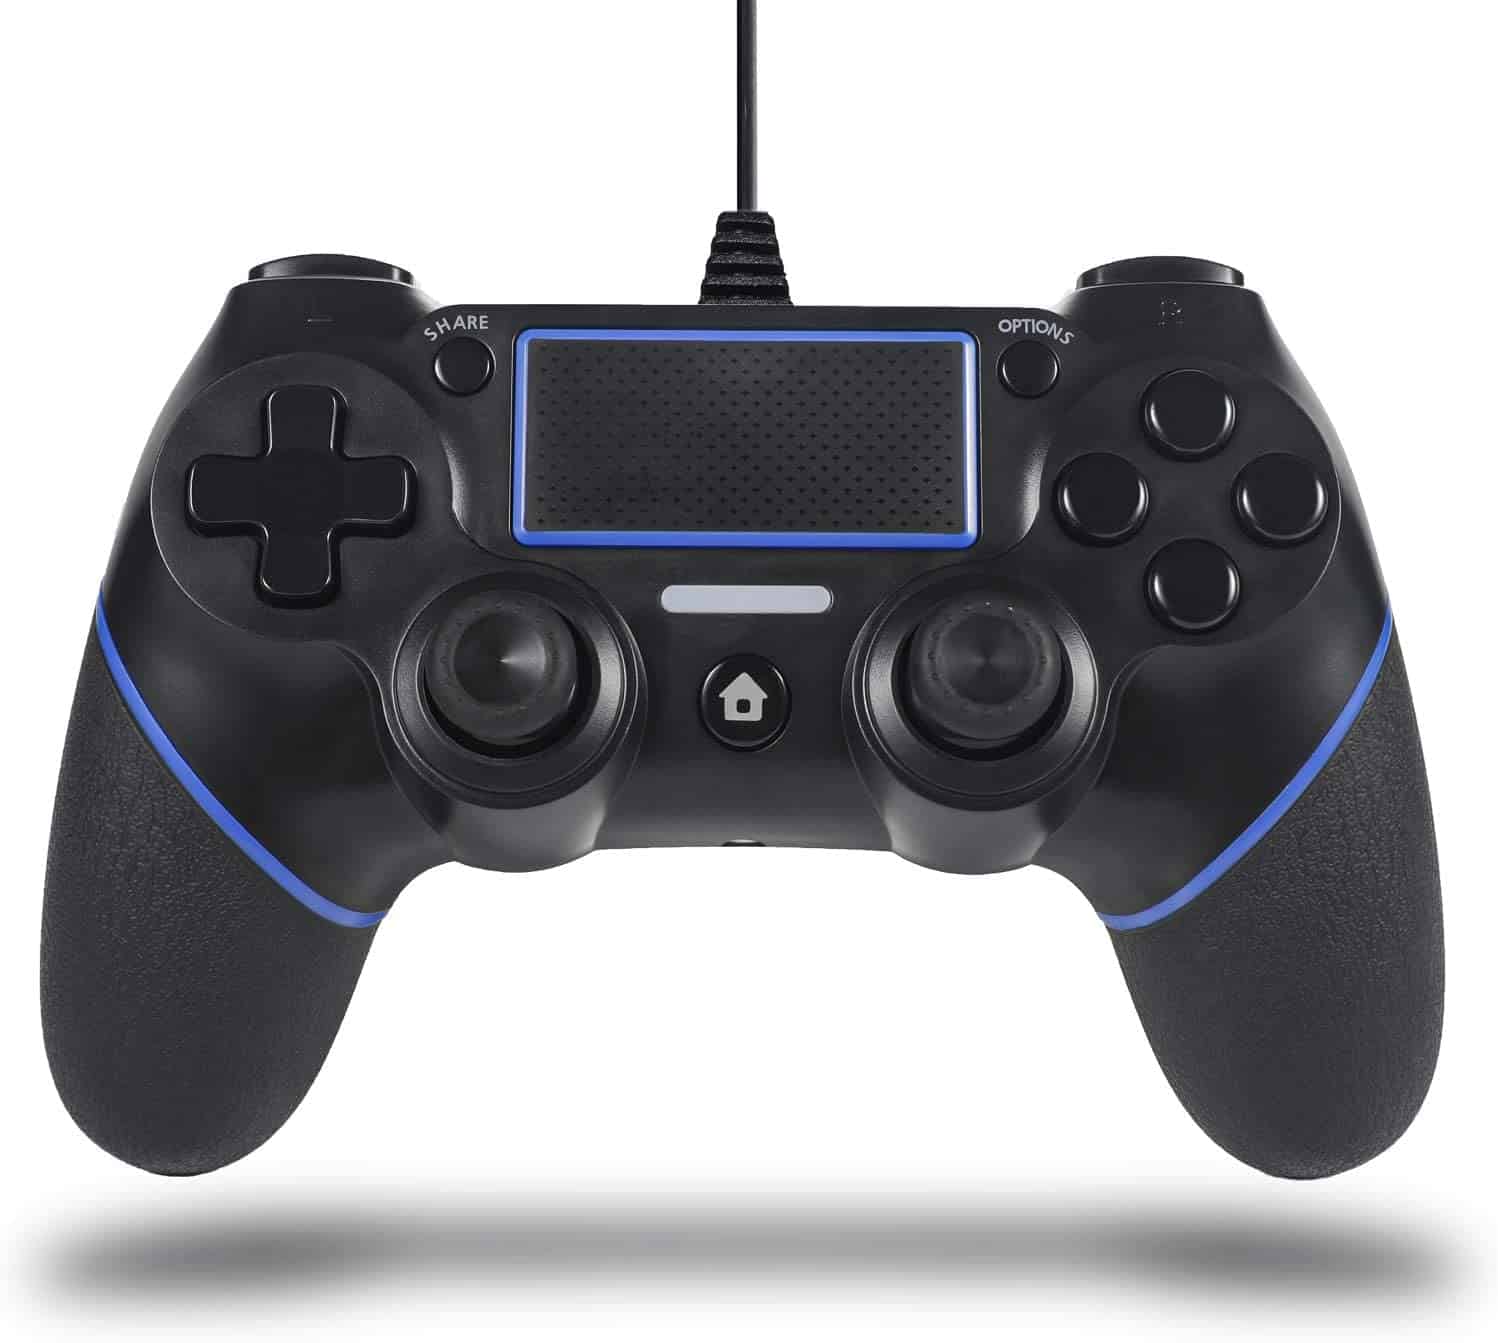
You can connect a PS4 controller to a laptop primarily in two ways; via a USB cable (wired connection), or via Bluetooth (wireless connection).
In order to connect using either way there are a few simple steps you need to take.
If you are using a wired PS4 controller


In this option, your laptop should recognize the controller and automatically install the required drivers immediately after you plug it in.
You use a USB cable that is slipped in the laptop on one end, and the other end into the controller.
Some PS4 controllers, however, have the cable permanently attached to them, meaning that you will only need to connect the free end to the laptop.
Here is how to do a wired connection of the PS4 controller to your laptop, step by step:
- Plug the controller into your laptop via USB cable. The laptop automatically installs the required drivers.
- Press the ps button on your controller. The power button icon should now be displayed in place of the Bluetooth icon on your laptop’s display screen
- Click ‘Connect devices’ in a Steam overlay or ‘Update button’ in the Controller Configuration panel
If you are using a wireless controller (Windows):
- To start with, turn your PS4 controller off.
- Next, press and hold the PS button together with the Share button simultaneously. Do this for about 3 seconds. You should start seeing some blinking coming from the light bar on the controller’s top. What this means is that your controller is in pairing mode.
- Now go to the Bluetooth settings within your laptop.
- Select the “Add Bluetooth or other device” option. Then go ahead and pick the “Bluetooth” option.
- You will now see your PS4 controller as “Wireless Controller” on the Bluetooth items list. Just go ahead and select it.
- Should you be prompted for a pairing code, just pick an easy-to-remember numbers and pairs sequence.
Also read: How to play PS4 on a Laptop
If you are using a wireless controller (Mac)
For this option, the initial connection steps for your PS4 controller are exactly the same as those of the Windows option.
- Simply turn the controller off, then press PS and Share buttons together until the blinking starts.
- Next, open your Mac’s System Preferences. Go to the Bluetooth option.
- From the list of Bluetooth devices, pick the wireless controller.
- Then just click on Pair and the blinking on the light stops, meaning a connection has been successful.
If You Are Using the PS4 controller with a Windows 10 PC (with No Bluetooth Detected)


Connecting your PS4 Controller to a Windows 10 PC is not the easiest experience, but it is possible.
The process should be familiar if you have used any other Bluetooth device. However, there are some new things to consider and remember.
- Ensure that your PS4 Controller work before attempting to connect them with Windows 10 PC. You can check by using the ‘Test Connection’ function under Device Manager. If they both work on their own, then proceed to the next step.
- Download and install the Bluetooth drivers for your Windows 10 PC. This guide will not teach you how to install the drivers; look it up on Google.
- Go to Settings > Devices > Bluetooth & other devices. You may need to click the ‘Bluetooth’ icon at the bottom of the window in order to see both ‘Bluetooth & other devices and ‘Devices’. If you can’t see ‘Bluetooth’, go back and follow Step 1.
- Click ‘Add Bluetooth or other Device’.
- Next, click Scan for devices (looks like a scan-line on a piece of paper). Your PS4 controller should appear as one of the options.
- Click the Device Name of your PS4 controller. Then, click ‘Next’
- If you have a DS4 Controller Dongle, then plug it into a USB port on your PC. It will automatically be detected and added to the list. If you want to connect through Bluetooth later, then click ‘Bluetooth’. Otherwise, click ‘Next’.
- Type in a name for your PS4 Controller (ex: John’s PS4 Controller). The name is not very important. Click ‘Next’.
- Click ‘Next’ again, and it should show up in the list of devices. You may need to click the Properties button next to it.
- Make sure that the ‘Select’ box for ‘Pair with other Bluetooth devices’ is checked. If not, then click ‘Add’. When you select this device in the next step, it will automatically be added to your Bluetooth settings as well. Click ‘Next’.
- Next, make sure that both your controller and dongle are in pairing mode by looking for them under Devices > Bluetooth & other devices. If you do not see both there, then go back and follow Step 1.
The power button icon should now be displayed in place of the Bluetooth icon on your laptop’s display screen.
Final Words
Once you connect your PS4 controller, whether you connect the controller via USB or you connect to a wireless controller, then you can then go ahead and adjust the controls using a program like Steam to ensure a smooth gaming experience.

